

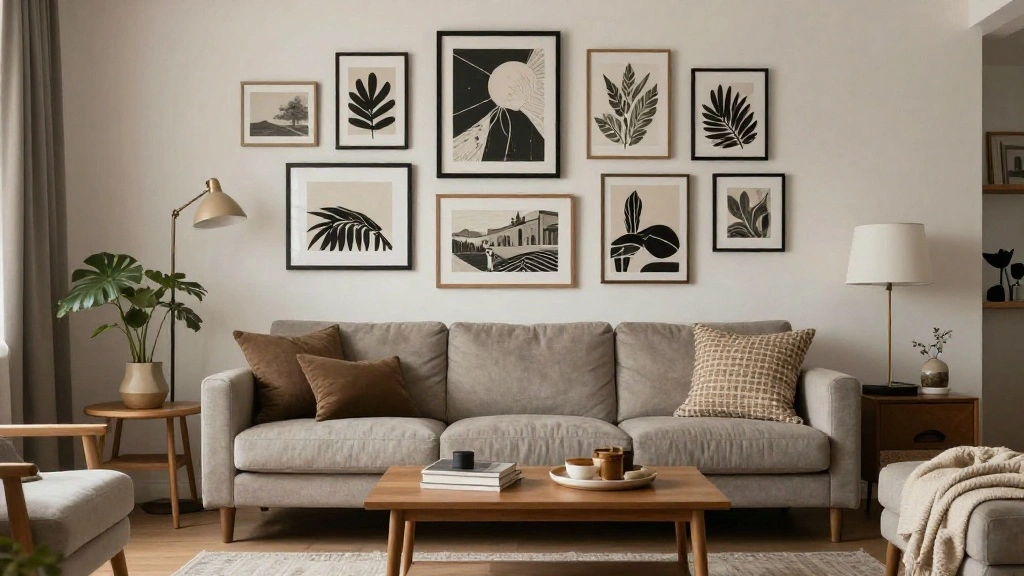
Are your walls feeling bare and uninspired? A dull space can sap your creativity and motivation, making it hard to feel at home. A gallery wall can transform your area, adding color, personality, and a unique touch that showcases your style. But how do you create one that looks curated and professional rather than chaotic?
In this guide, you will learn how to design and assemble a stunning gallery wall that will impress your friends and family. You will accomplish a cohesive look that reflects your personality and style, creating a space you love. The process will be broken down into ten manageable steps, ensuring you can follow along with ease.
This guide is tailored for those with an intermediate skill level and will take an estimated 2-3 hours to complete. You will learn about selecting artwork, layout techniques, and hanging methods. Let’s get started on your journey to a beautiful gallery wall!
Contents
- TL;DR Summary
- Prerequisites/Materials Needed
- Skill Level & Time Estimate
- Step 1: Choose Your Theme
- Step 2: Gather Your Artwork
- Step 3: Plan Your Layout
- Step 4: Mark Your Hanging Points
- Step 5: Prepare Your Frames
- Step 6: Hang Your Artwork
- Step 7: Adjust and Fine-Tune
- Step 8: Add Finishing Touches
- Step 9: Maintain Your Gallery Wall
- Step 10: Share Your Creation
- Pro Tips
- Common Mistakes to Avoid
- Troubleshooting Section
- Variations/Alternative Methods
- FAQs
TL;DR Summary
- Create a cohesive design for your gallery wall by selecting a theme.
- Gather the right materials, including frames and hanging tools.
- Use a template for layout planning before hanging any art.
- Incorporate personal elements to make the wall uniquely yours.
Prerequisites/Materials Needed
- Artwork: 5-10 pieces of varying sizes
- Frames: Matching or complementary frames (2-5 of each type)
- Hanging Tools: Hammer, nails, level, measuring tape
- Template Materials: Craft paper or painter’s tape
- Optional: Art supplies for DIY pieces
Skill Level & Time Estimate

Skill Level: Intermediate.
Total Time Estimate: 2-3 hours.
Breakdown of time: 30 minutes for planning, 1 hour for gathering materials, 1 hour for layout, and 30 minutes for hanging.
Step 1: Choose Your Theme
Start by deciding on a theme for your gallery wall. This could be based on colors, styles, or subject matter. A cohesive theme helps create a professional look. Follow these sub-steps:
- Reflect on your personal style. What colors or subjects resonate with you?
- Look for inspiration online—Pinterest and Instagram are great places to start.
- Consider the space where the wall will be; your theme should complement the room’s overall aesthetic.
Pro Tip: Create a mood board to visualize your theme!
Time estimate: 30 minutes.
[Screenshot: show a mood board with different themes and styles being considered.]
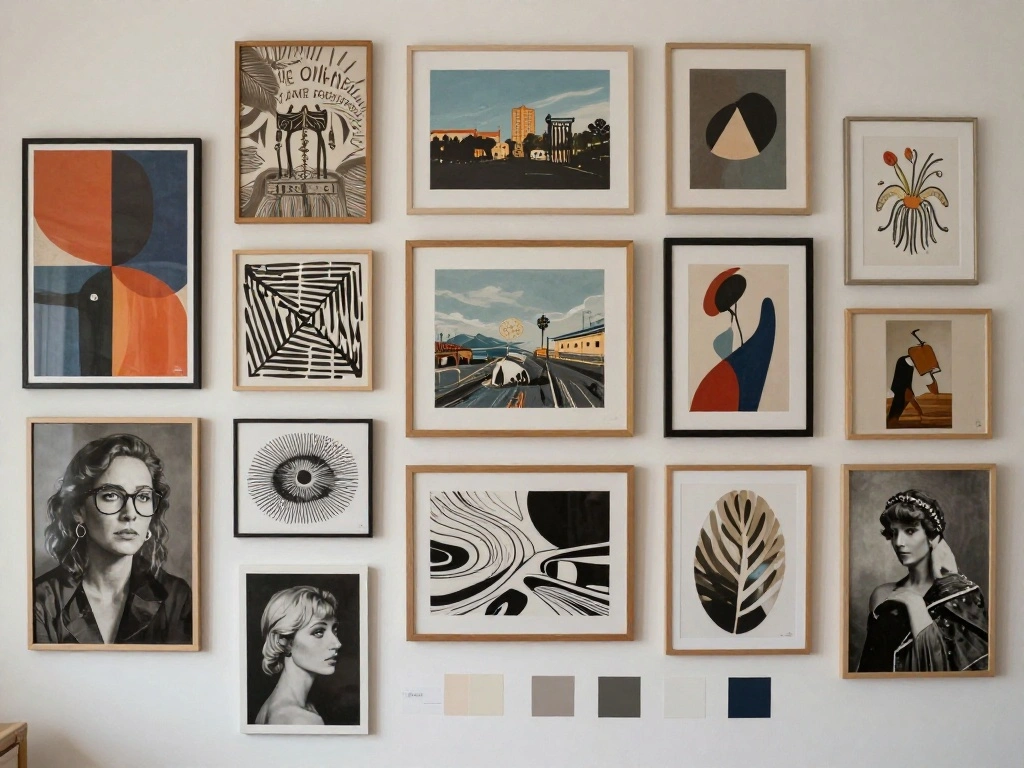
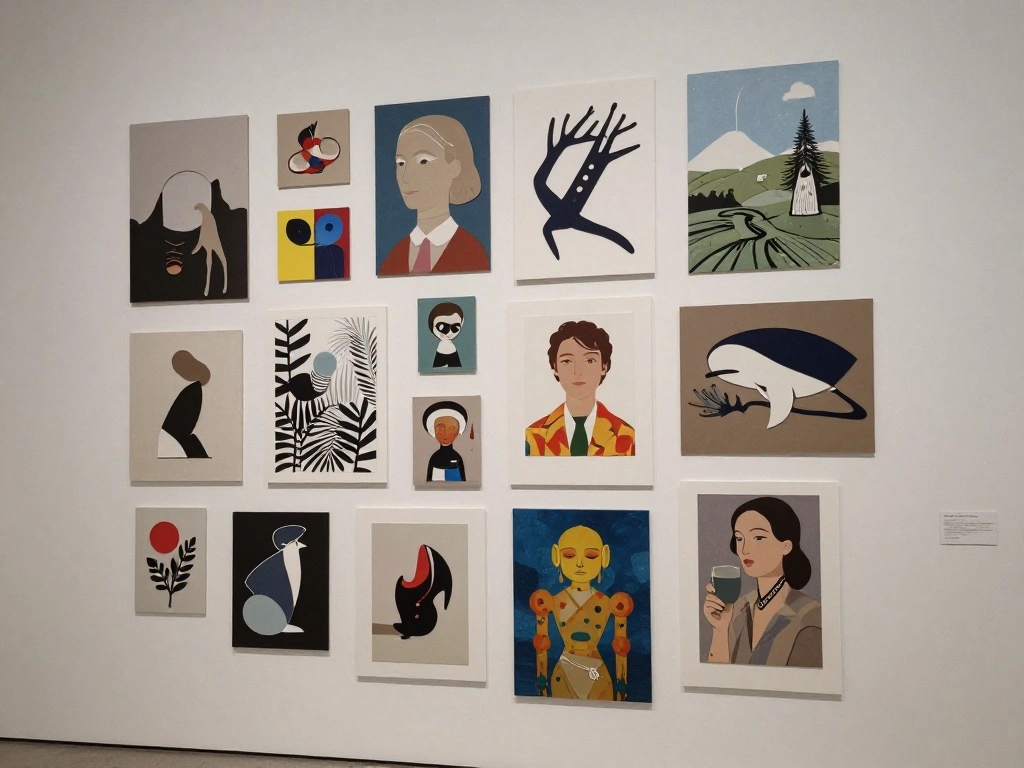
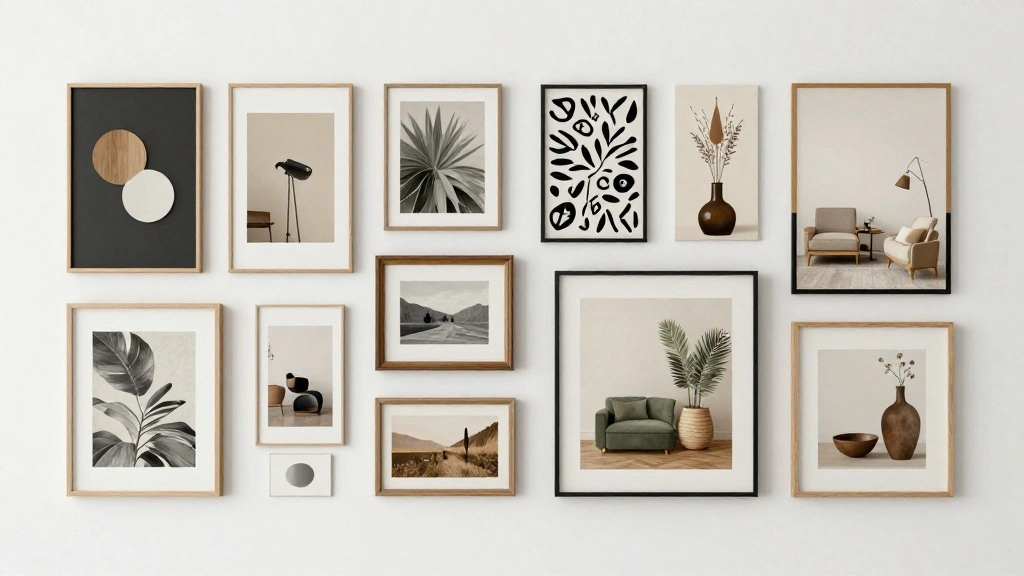
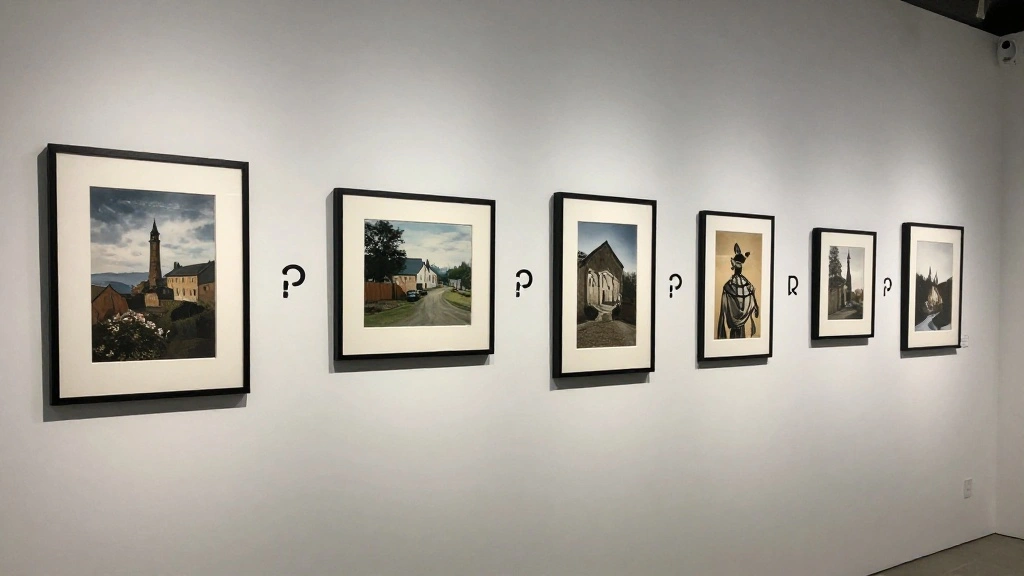
Step 2: Gather Your Artwork
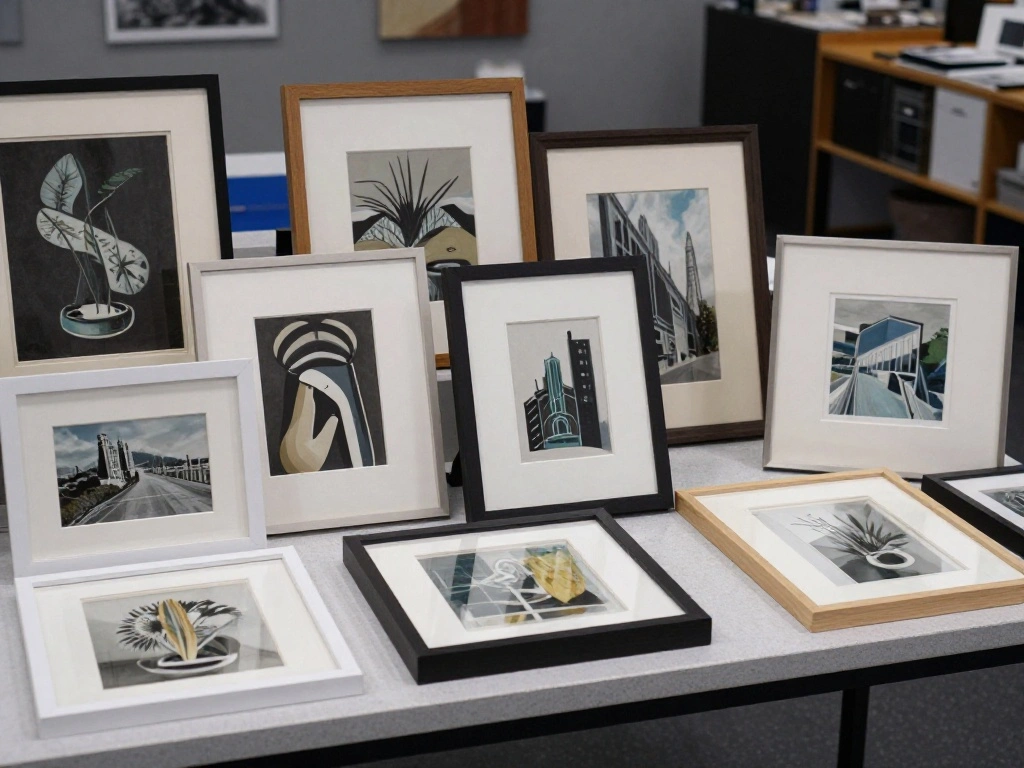
Once you have a theme, it’s time to gather your artwork. This can include prints, photographs, or even DIY pieces. Follow these steps:
- Collect art pieces that fit your chosen theme.
- Mix different sizes and orientations—this adds visual interest.
- If you have personal photos, consider having them printed in a consistent style.
Pro Tip: Use frames of varying styles but keep a consistent color palette for a cohesive look.
Time estimate: 30 minutes.
[Screenshot: display a collection of art pieces laid out for selection.]
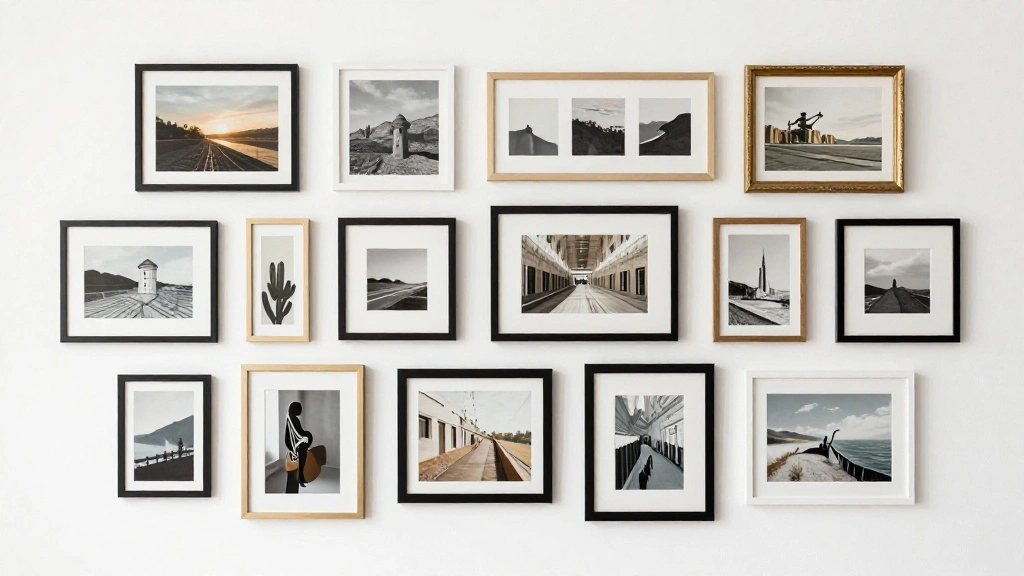
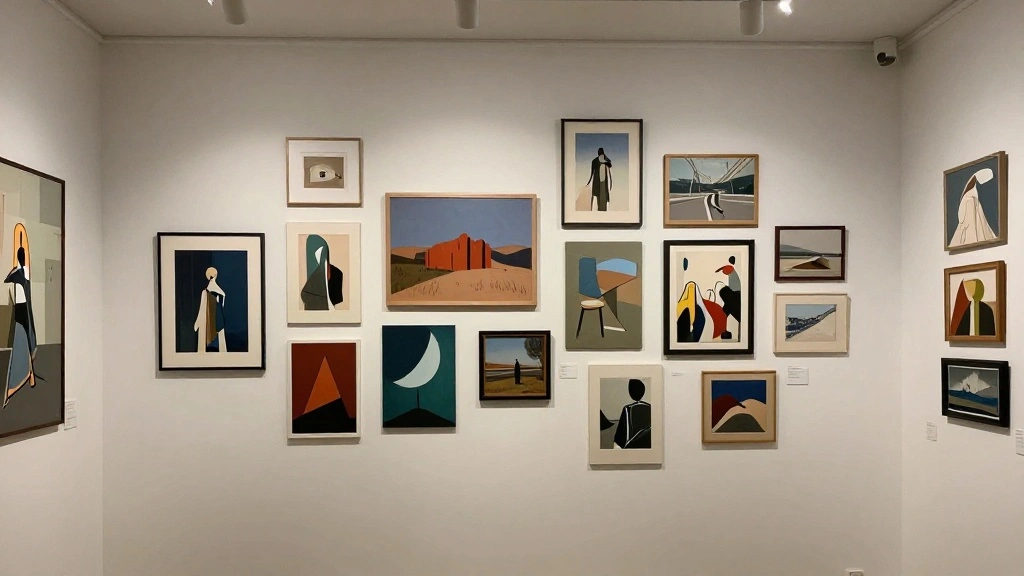
Step 3: Plan Your Layout
Before you start hanging anything, plan your layout. This step is crucial to avoid unnecessary holes in your wall. Follow these steps:
- Use craft paper to cut templates for each piece of art and tape them to the wall.
- Arrange the templates until you find a layout that feels balanced.
- Step back and assess your arrangement from different angles.
Warning: Avoid placing artwork too high or too low; eye level is generally the best height.
Time estimate: 30 minutes.
[Screenshot: a wall with templates taped up, showcasing the planned layout.]
Step 4: Mark Your Hanging Points

After finalizing your layout, it’s time to mark where the artwork will hang. This ensures precision and saves time. Do the following:
- Use a pencil to mark the top center point of each template on the wall.
- Measure the distance from the top of the frame to the hanging hardware.
- Transfer that measurement to your markings to ensure proper placement.
Pro Tip: Use a level to ensure your markings are straight across the wall.
Time estimate: 15 minutes.
[Screenshot: a person marking the wall with a pencil, showing a tape measure in use.]
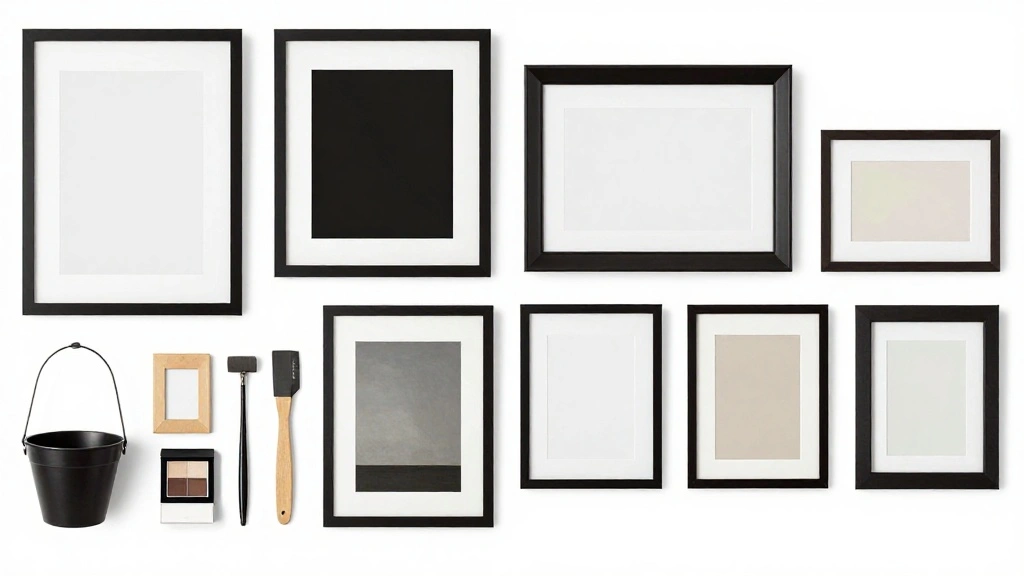
Step 5: Prepare Your Frames
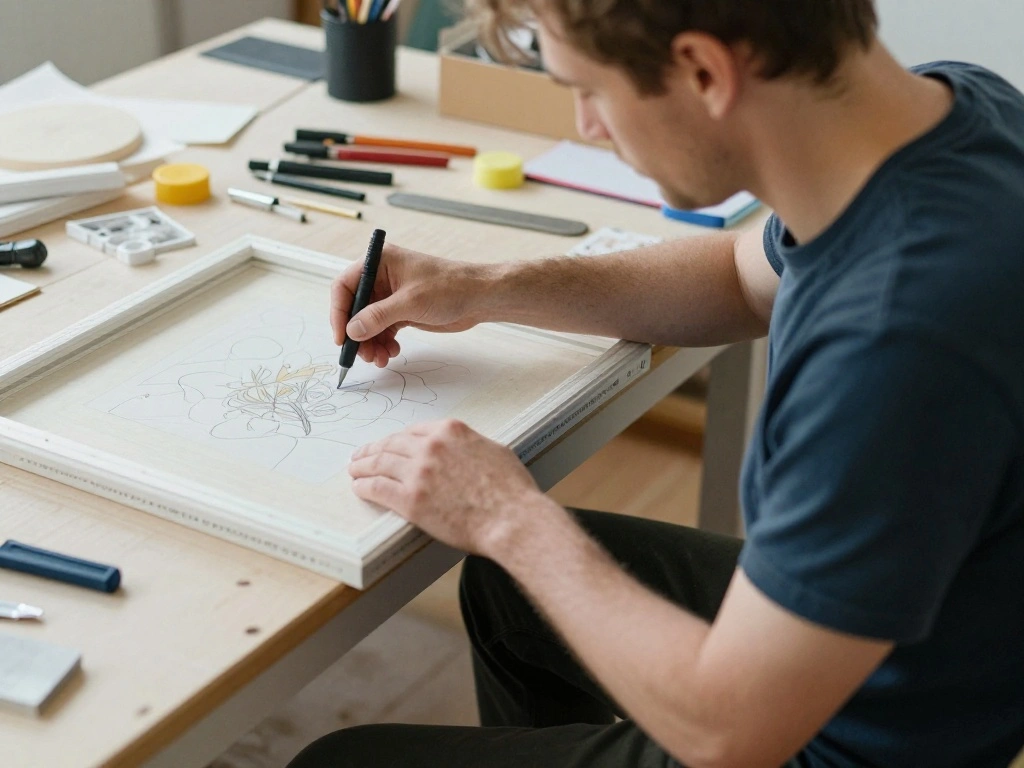
Before you hang the artwork, prepare your frames. This includes ensuring each piece is ready to be displayed. Follow these steps:
- Check the glass and clean it if necessary to remove dust or fingerprints.
- Insert your artwork and secure it properly within the frame.
- If using matting, ensure it complements the artwork and the overall theme.
Pro Tip: Use acid-free materials to protect your artwork from damage over time.
Time estimate: 30 minutes.
[Screenshot: show a person assembling a frame with a piece of art being inserted.]
Step 6: Hang Your Artwork
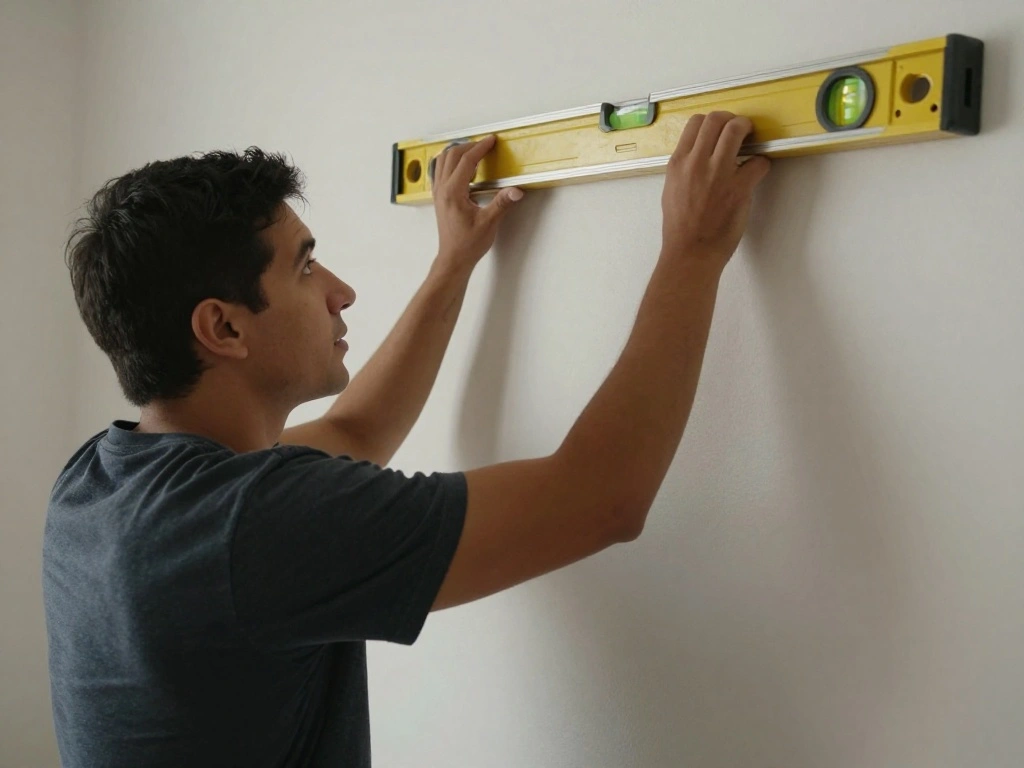
Now comes the fun part—hanging your artwork! This step is where your vision comes to life. Follow these instructions:
- Start with the largest piece and hang it first to anchor your design.
- Use a level to ensure each piece is straight as you work.
- Secure each frame into place using nails or wall anchors, depending on the weight.
Warning: Be sure to use the appropriate hardware for the weight of your frames to avoid accidents.
Time estimate: 30 minutes.
[Screenshot: show a person hanging artwork on the wall, with a level in use to ensure straightness.]
Step 7: Adjust and Fine-Tune
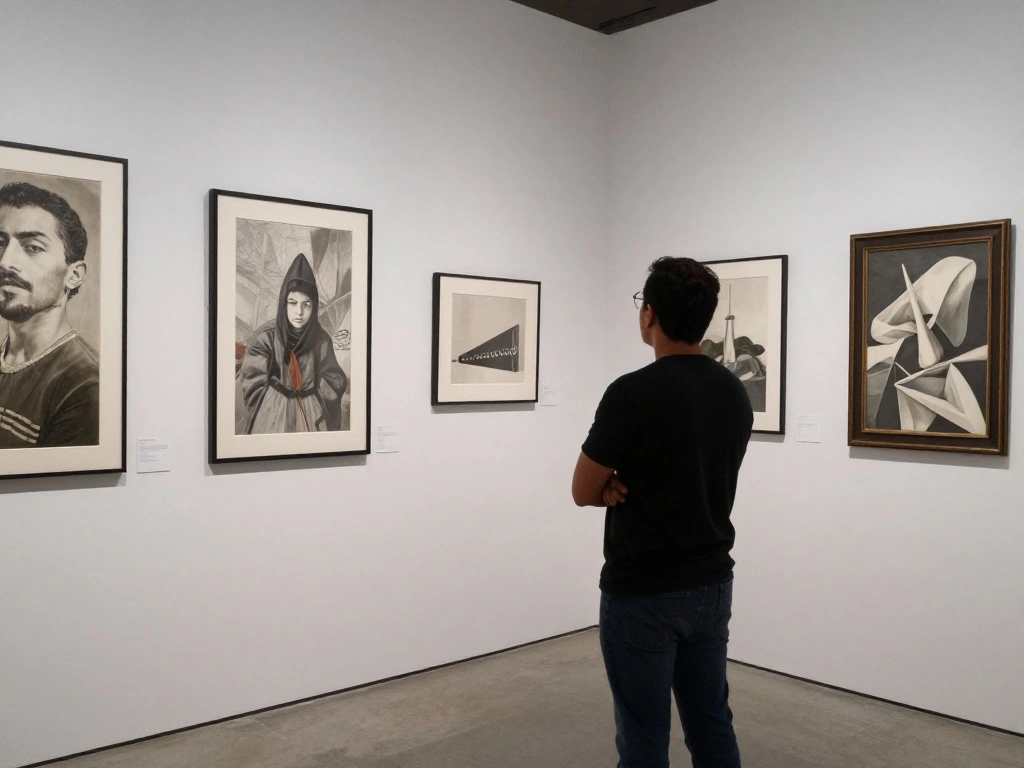
Once all artwork is hung, it’s time for the final adjustments. This step ensures everything looks just right. Do the following:
- Step back and assess the overall layout; make adjustments as needed.
- If something feels off, don’t hesitate to rearrange a few pieces.
- Ensure there’s equal spacing between frames for a polished look.
Pro Tip: Use a measuring tape to maintain consistent spacing between frames.
Time estimate: 20 minutes.
[Screenshot: a person evaluating the finished gallery wall from a distance, making minor adjustments.]
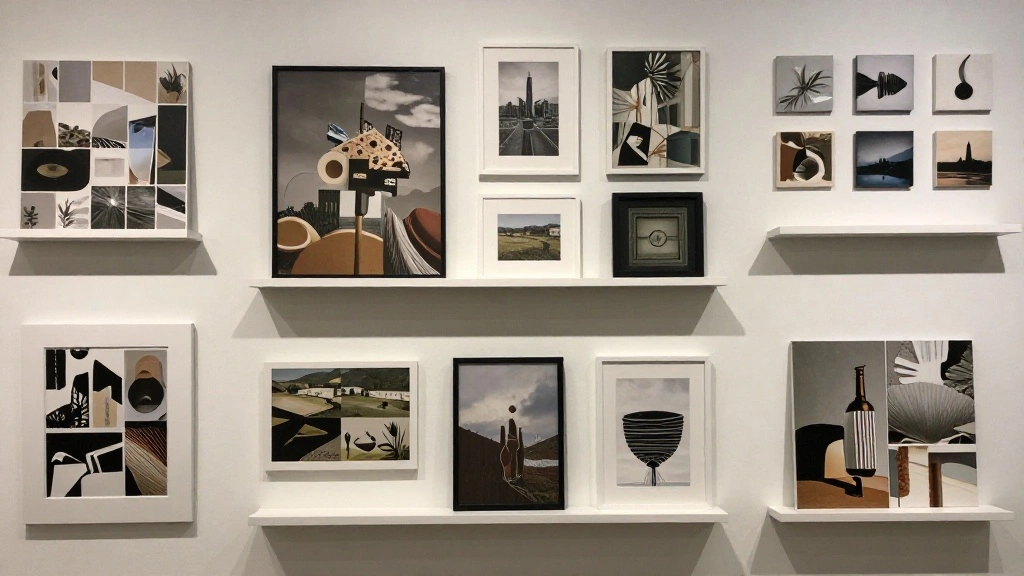
Step 8: Add Finishing Touches
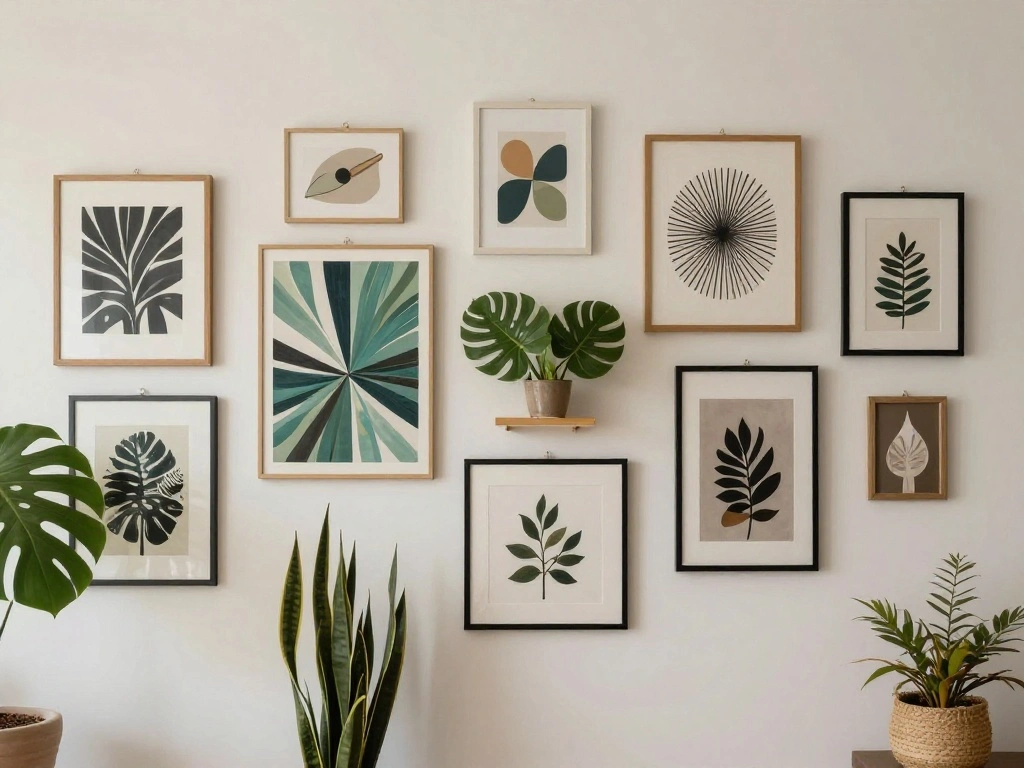
Now that your artwork is hung, it’s time to add those little details that enhance your gallery wall. Follow these steps:
- Consider adding decorative elements like shelves, plants, or small sculptures.
- Incorporate lighting to highlight your artwork, such as picture lights or string lights.
- Don’t forget about wall colors or textures; these can enhance the overall aesthetic.
Pro Tip: Use removable wall hooks for easy repositioning of decorative items.
Time estimate: 30 minutes.
[Screenshot: show a beautifully arranged gallery wall with small decorations and lighting added.]
Step 9: Maintain Your Gallery Wall
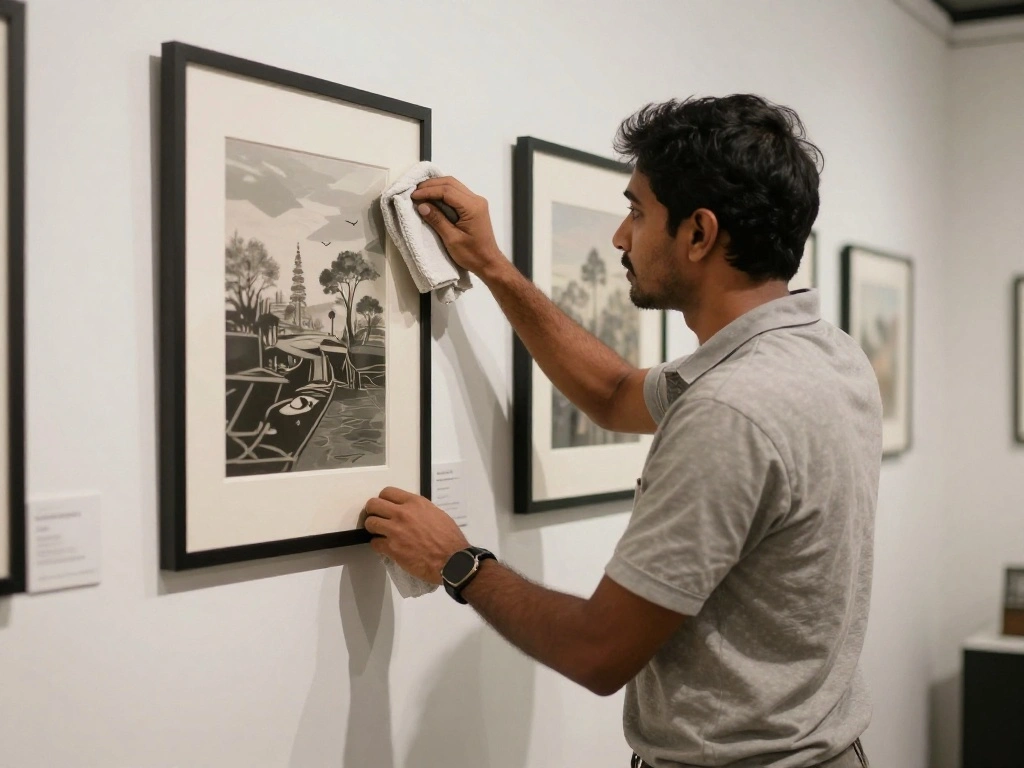
To keep your gallery wall looking fresh, regular maintenance is essential. Here’s how:
- Dust your frames and artwork periodically to prevent buildup.
- Change out artwork or add new pieces to keep the display dynamic.
- Check for any loose frames and tighten as necessary.
Pro Tip: Rotate seasonal art or themed pieces for a refreshing change.
Time estimate: Ongoing maintenance.
[Screenshot: a person dusting the frames and adjusting the artwork on the wall.]
Step 10: Share Your Creation
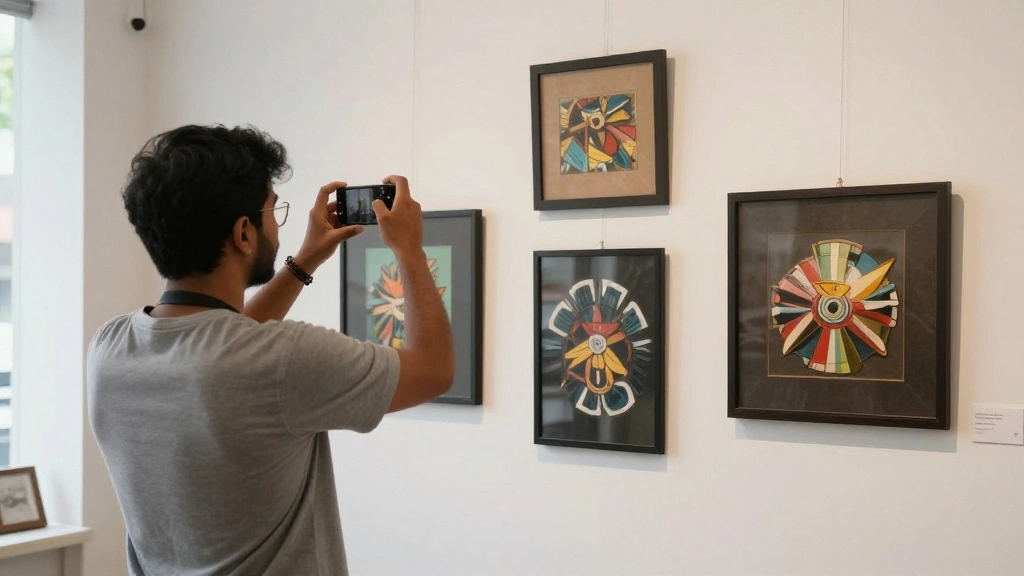
Now that you’ve created a stunning gallery wall, it’s time to share your masterpiece with others!
- Take high-quality photos of your gallery wall to showcase your work.
- Share on social media or invite friends over to admire your creation.
- Consider starting a blog or Instagram account to document your home decor journey.
Pro Tip: Use natural lighting for the best photos of your gallery wall.
Time estimate: 30 minutes.
[Screenshot: a person taking photos of their completed gallery wall with a smartphone.]
Pro Tips
- Color Coordination: Use a color palette that complements your room for a unified look.
- Layering: Consider layering smaller pieces in front of larger ones for added depth.
- Personal Touch: Incorporate personal items like travel souvenirs to make it unique.
- Balance: Ensure visual weight is evenly distributed across the wall.
- Variety: Mix different types of artwork, like photos, paintings, and textiles.
Common Mistakes to Avoid
Warning: Don’t overcrowd your gallery wall; this can make it feel cluttered. Instead, leave some space between pieces for breathing room.
Warning: Avoid hanging artwork too high; it should be at eye level to be appreciated.
Warning: Don’t forget about lighting; without proper lighting, your artwork can look dull and lifeless.
Troubleshooting Section
Problem: Artwork looks crooked.
Solution: Use a level to adjust the frame until it’s straight.
Problem: Wall damage from too many nails.
Solution: Use adhesive hooks for lighter pieces to minimize wall damage.
Problem: Artwork doesn’t fit the planned layout.
Solution: Reassess your layout; try swapping pieces around until it feels balanced.
Variations/Alternative Methods
- Framed Collage: Use a mix of frame styles and colors for a more eclectic look.
- Floating Shelves: Display art and decorative items on floating shelves for versatility.
- Gallery Ledge: A narrow ledge allows you to easily swap out artwork without hanging nails.
FAQs
- What if I don’t have enough artwork? Consider creating DIY art pieces to fill the space.
- How long should I wait to change the artwork? Change it seasonally or whenever you feel like refreshing your space.
- Is it safe to use adhesive strips? Yes, as long as the artwork is lightweight, adhesive strips can be a great option.
Conclusion
Congratulations on creating your beautiful gallery wall! Your space now reflects your personality and style, making it a more inviting area. As you continue to develop your home décor, consider how you can evolve your gallery wall further.
Explore nearby art fairs, visit galleries, or even take up painting as a new hobby. Each addition can breathe new life into your gallery wall, keeping it dynamic and fresh. Happy decorating!

")


I really enjoyed your introduction! It made me think about how everyone has a unique story to tell. What inspired you to write this post?