

Are you tired of rummaging through a cluttered pantry every time you need to cook? It’s a common problem many face, leading to frustration and wasted time. A disorganized pantry can make meal prep feel like a daunting task, causing you to reach for takeout instead of utilizing the ingredients you already have. Thankfully, organizing your pantry doesn’t have to be expensive or overwhelming.
In this guide, you will learn how to organize your pantry on a budget. By the end, you will have a streamlined space that maximizes efficiency and reduces food waste. You’ll discover practical steps to declutter, categorize, and efficiently store your pantry items without breaking the bank.
This guide is designed for beginners and can be completed in about 2-3 hours. Engaging in this project not only enhances your cooking experience but also provides a sense of accomplishment. Let’s turn that chaotic pantry into a well-organized haven!
Contents
- TL;DR Summary
- Prerequisites/Materials Needed
- Skill Level & Time Estimate
- Step 1: Empty Your Pantry
- Step 2: Clean the Shelves
- Step 3: Sort and Categorize Items
- Step 4: Identify Storage Solutions
- Step 5: Label Everything
- Step 6: Organize the Shelves
- Step 7: Maintain Your Pantry
- Step 8: Incorporate Seasonal Items
- Step 9: Use Space Wisely
- Step 10: Evaluate Your Needs
- Step 11: Involve the Family
- Step 12: Celebrate Your Accomplishment
- Pro Tips
- Common Mistakes to Avoid
- Troubleshooting Section
- Variations/Alternative Methods
- FAQs
TL;DR Summary
- Start with a complete emptying and cleaning of your pantry.
- Sort and categorize items based on type or usage.
- Utilize budget-friendly storage solutions like baskets and jars.
- Label everything for easy access and maintenance.
Prerequisites/Materials Needed
- Trash bags or bins for disposal
- Cleaning supplies (spray cleaner, cloths)
- Storage bins or baskets (at least 3-5, depending on pantry size)
- Labels (stickers or a label maker)
- Measuring cups and spoons for accurate inventory
Skill Level & Time Estimate
Skill Level: beginner
Total Time Estimate: 2-3 hours
This includes time for emptying the pantry, cleaning, categorizing, and organizing. Each major step can take about 30 minutes to an hour, depending on your pantry’s size.
Step 1: Empty Your Pantry
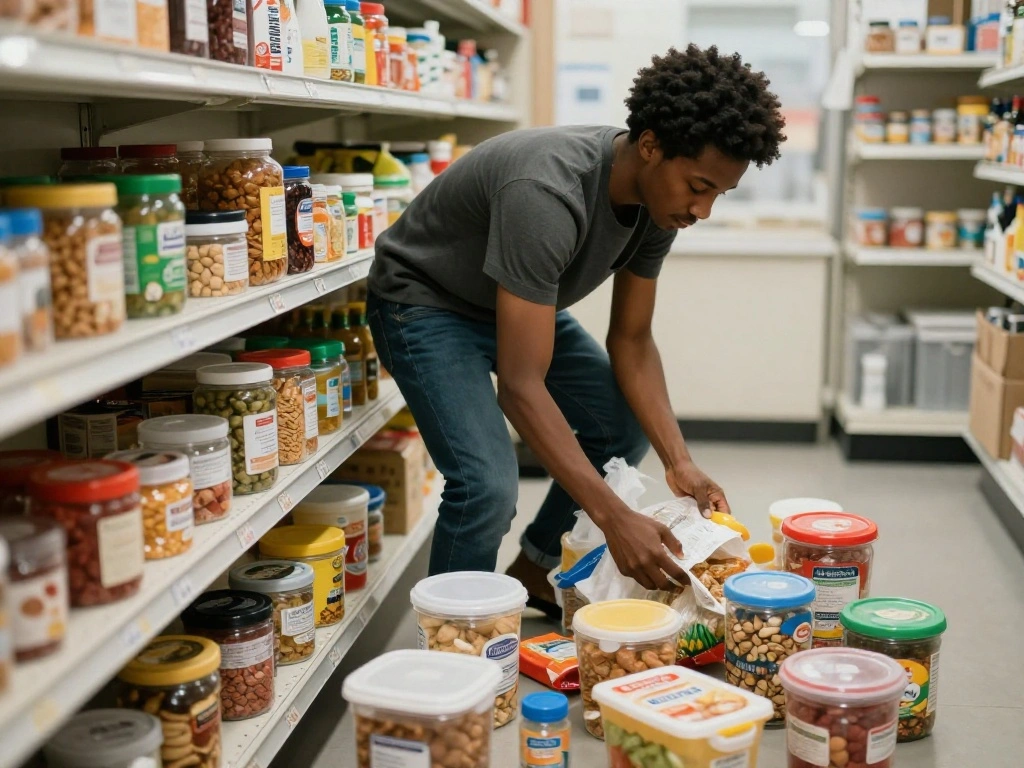
Begin by emptying your pantry completely. This step is crucial for assessing what you have and what needs to be discarded.
- Take everything out of the pantry and place it on a clean surface.
- Sort items into categories: keep, discard, or donate.
- Check expiration dates and condition of each item.
Warning: Be mindful of food that may have gone bad or is outdated. Dispose of any expired items to avoid contamination in your pantry.
Why this matters: This step sets the foundation for a successful organization process, allowing you to see everything you have and prioritize what to keep.
Estimated time: 30 minutes
Step 2: Clean the Shelves

Once the pantry is empty, it’s time to give it a good clean.
- Use a spray cleaner and cloth to wipe down all surfaces.
- Pay special attention to corners and crevices where dust and crumbs may accumulate.
- Allow the shelves to dry completely before replacing items.
Pro Tip: Use a mixture of vinegar and water as a natural cleaner for a fresh scent.
Why this matters: Cleaning removes any lingering odors and creates a fresh environment for your organized pantry.
Estimated time: 20 minutes
Step 3: Sort and Categorize Items
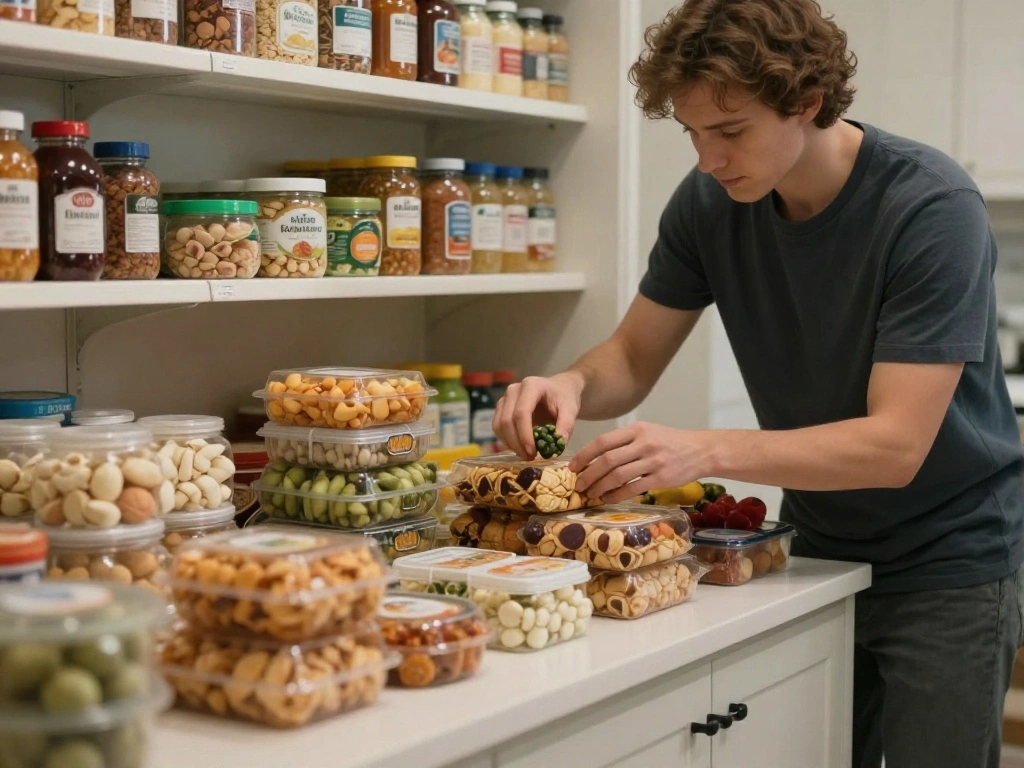
Sorting items into categories helps streamline the organization process and makes items easier to find.
- Group similar items together (e.g., grains, canned goods, snacks).
- Consider frequency of use and keep everyday items at eye level.
- Use baskets or bins for smaller items to prevent clutter.
Pro Tip: Use clear containers so you can see the contents at a glance.
Why this matters: Categorizing helps in maintaining the organization and makes it easier to locate items when cooking.
Estimated time: 30 minutes
Step 4: Identify Storage Solutions

Next, identify budget-friendly storage solutions that work for your pantry space.
- Consider using boxes, baskets, or jars you already own.
- Visit local dollar stores or thrift shops for affordable storage options.
- Measure your shelves to ensure any new containers will fit.
Pro Tip: Look for multi-use items that can serve more than one purpose.
Why this matters: Efficient storage solutions maximize your pantry space and keep items organized.
Estimated time: 15 minutes
Step 5: Label Everything
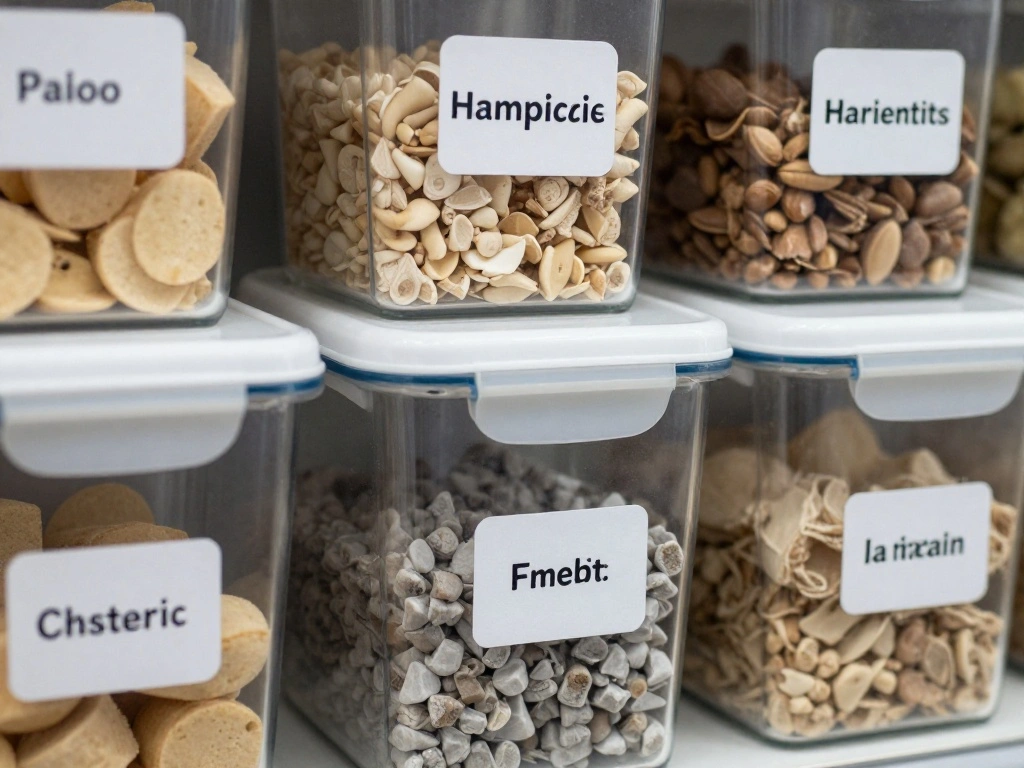
Labeling helps everyone in the household find items quickly and maintain organization.
- Use labels for each bin or container, indicating the contents.
- Consider color-coding for different categories.
- Ensure labels are clear and easy to read.
Pro Tip: Use a label maker for a clean, professional look.
Why this matters: Labels reduce confusion and help maintain the organization system you’ve created.
Estimated time: 20 minutes
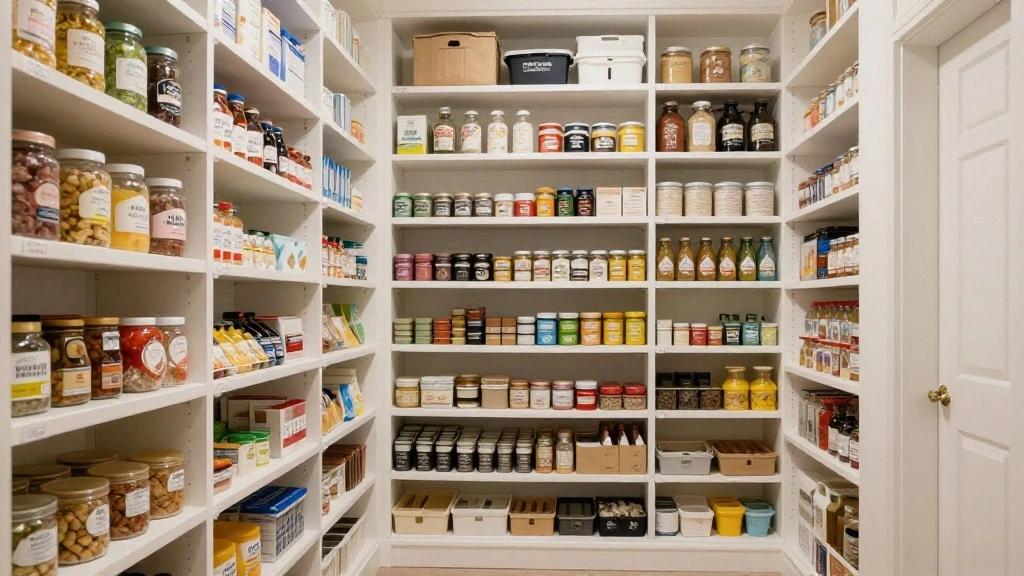
Step 6: Organize the Shelves
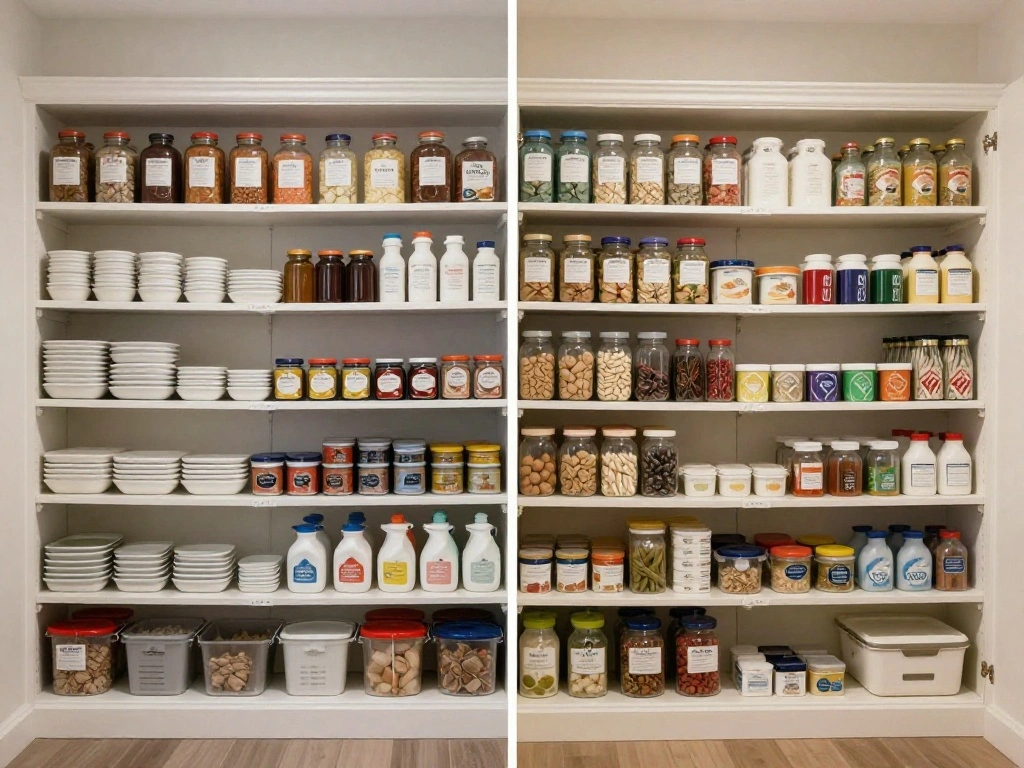
Now that everything is clean and labeled, it’s time to put items back into the pantry in an organized manner.
- Start with larger items and place them on the bottom shelves.
- Use bins or baskets for smaller items to keep them together.
- Store frequently used items at eye level for easy access.
Pro Tip: Use vertical space by stacking bins or using shelf risers.
Why this matters: Proper organization ensures that you can quickly find what you need while cooking.
Estimated time: 30 minutes
Step 7: Maintain Your Pantry

After organizing, it’s crucial to maintain the order you’ve created.
- Regularly check for expired items and remove them.
- Return items to their designated spots after use.
- Reassess organization every few months to accommodate new items.
Pro Tip: Schedule a monthly check-in to keep the pantry in top shape.
Why this matters: Ongoing maintenance prevents clutter from building up again and keeps your pantry functional.
Estimated time: 10 minutes per month
Step 8: Incorporate Seasonal Items
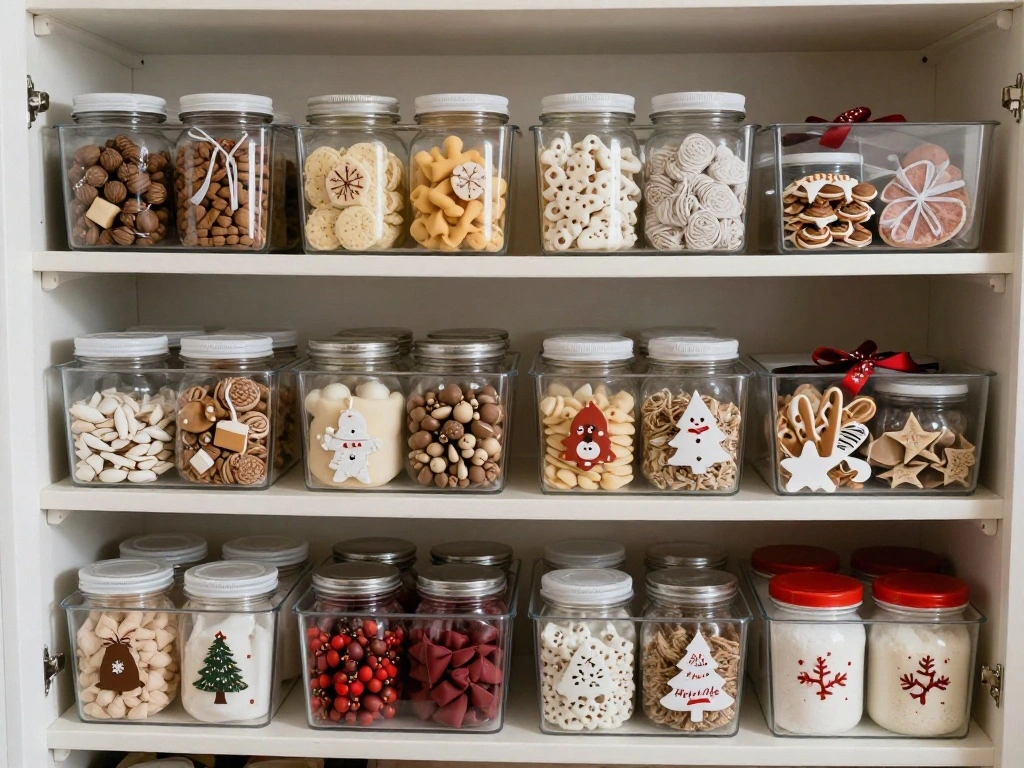
Consider incorporating seasonal items to keep your pantry fresh and relevant.
- Store seasonal baking goods or holiday-specific items in containers.
- Rotate these items in and out as seasons change.
- Keep a dedicated space for these seasonal items to avoid clutter.
Pro Tip: Use clear bins for visibility and ease of access.
Why this matters: Keeping seasonal items organized prevents confusion and makes it easier to find what you need during the holidays.
Estimated time: 15 minutes
Step 9: Use Space Wisely
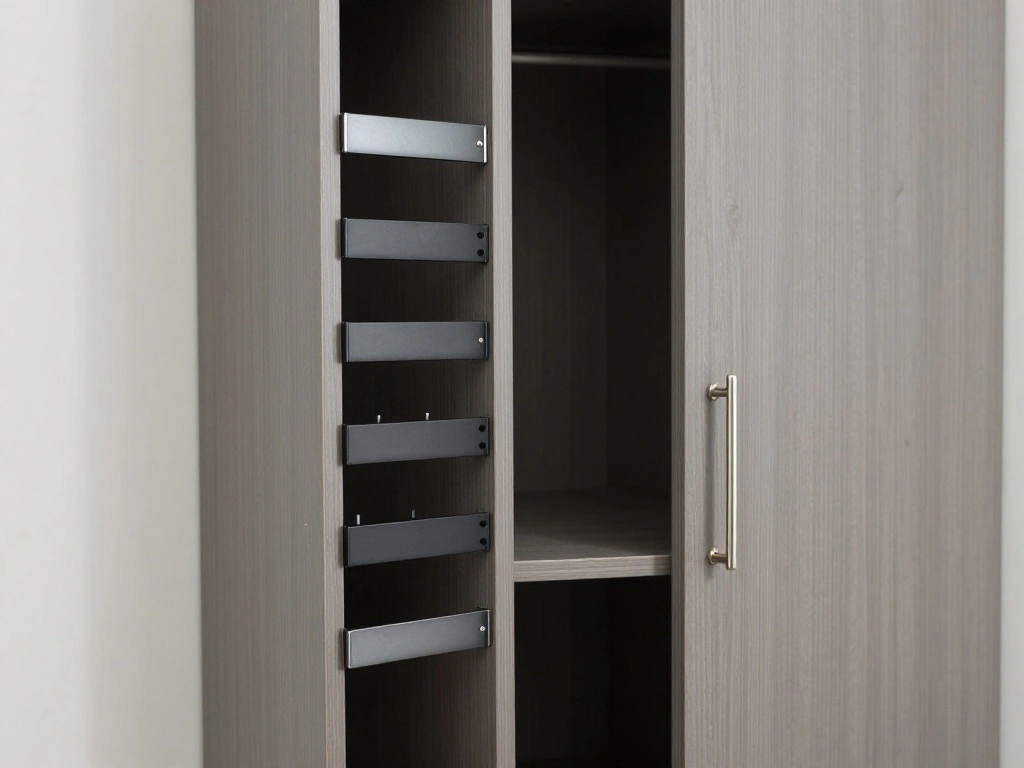
Maximize every inch of your pantry space for optimal organization.
- Consider using door space for storing spices or smaller items.
- Install hooks for aprons or reusable bags.
- Use tiered shelves to increase visibility of items.
Pro Tip: Utilize magnetic strips for small metal containers to save space.
Why this matters: Efficient use of space allows you to store more without feeling cramped.
Estimated time: 20 minutes
Step 10: Evaluate Your Needs

Regularly evaluate your pantry needs to adapt to changes in your household.
- Assess if your current organization is still effective.
- Consider changes in dietary needs or family sizes.
- Adjust storage solutions as necessary.
Pro Tip: Keep a notepad in the pantry to jot down items that need replenishing.
Why this matters: Adapting to your needs ensures that the pantry remains functional and relevant.
Estimated time: 15 minutes every few months
Step 11: Involve the Family

Getting the whole family involved can make maintaining an organized pantry easier.
- Teach kids where items belong and how to return them after use.
- Encourage everyone to help with monthly checks.
- Make it a fun family activity to keep the pantry organized together.
Pro Tip: Create a fun chart for kids to track their contributions to pantry organization.
Why this matters: Involving family members fosters accountability and helps maintain organization.
Estimated time: 10 minutes each month
Step 12: Celebrate Your Accomplishment

Finally, take a moment to celebrate your hard work!
- Admire your organized pantry and enjoy the new space.
- Share your success with family or friends for added motivation.
- Consider cooking a meal using items from your newly organized pantry.
Pro Tip: Document the transformation with before-and-after photos.
Why this matters: Celebrating your accomplishment reinforces the effort you put in and motivates you to maintain the organization.
Estimated time: 10 minutes
Pro Tips
- Use Clear Containers: They allow you to see what’s inside without opening every jar.
- Implement FIFO: Follow the First In, First Out method to prevent food waste.
- Regularly Reassess: Check your pantry every few months to adjust for new items or changes.
- Invest in Quality Bins: Durable bins save you money in the long run.
- Keep a Pantry Inventory: Track what you have to avoid buying duplicates.
Common Mistakes to Avoid
Warning: Not checking expiration dates.
This can lead to health risks and wasted food. Always check before organizing.
Warning: Overcrowding shelves.
This makes it hard to find items and can lead to spills. Stick to organized bins and limit what you keep.
Warning: Ignoring vertical space.
Failing to use vertical space means wasted space. Use tiered shelves to maximize it.
Troubleshooting Section
Problem: Items keep falling over.
Solution: Use bins to group smaller items together and prevent spills.
Problem: Labels keep coming off.
Solution: Use a label maker for durable, adhesive labels.
Problem: Pantry smells bad.
Solution: Clean thoroughly and use baking soda to absorb odors.
Problem: Hard to see items in the back.
Solution: Use clear containers or tiered shelving.
Problem: Items are hard to reach.
Solution: Rotate items regularly and keep frequently used items at eye level.
Variations/Alternative Methods
1. Use a color-coding system for items based on dietary preferences or usage frequency.
Pros: Easy to find what you need.
Cons: Requires more initial setup time.
2. Implement a monthly pantry challenge where you use what you have to create meals.
Pros: Reduces waste and gets creative in the kitchen.
Cons: May require meal planning.
FAQs
What if I don’t have enough storage bins? You can repurpose boxes or containers you already have at home.
How long should I expect it to take? The entire process can take about 2-3 hours, depending on pantry size.
Is it safe to store food in plastic containers? Yes, as long as they are food-grade and BPA-free.
What if I can’t find labels? Use masking tape and a permanent marker as a temporary solution.
How can I keep my pantry smelling fresh? Use baking soda or dried herbs to absorb odors.
Conclusion
Congratulations on transforming your pantry! With these steps, you have created an organized space that enhances your cooking experience and helps you save money. Remember, maintaining this organization is key. Schedule regular check-ups and involve your family in keeping your pantry in order.
For your next steps, consider revisiting this guide every few months to reassess your needs or try out the variations mentioned earlier. Enjoy your newly organized pantry and the ease it brings to meal prep!


This post really got me thinking! I always struggle with figuring out the main question when I read titles. How do you usually approach it when you’re unsure?
I love how you broke this down! It’s kind of like trying to find a needle in a haystack, except the haystack is made of confusing titles! Why do they make it so complicated?
Did you know that the average person spends about 6 seconds deciding whether to read an article? No pressure, right? That’s why it’s so important to nail that main question!
I remember once I read a title that was so vague, I ended up going on a wild goose chase trying to find the answer. It took me hours, but it was a hilarious adventure! Have you ever had a similar experience?